Peel and Stick Tiles are a great DIY project for a new Backsplash Kitchen Makeover. These tiles are affordable and easy to install. In a matter of hours, you will have a brighter and stunning kitchen.
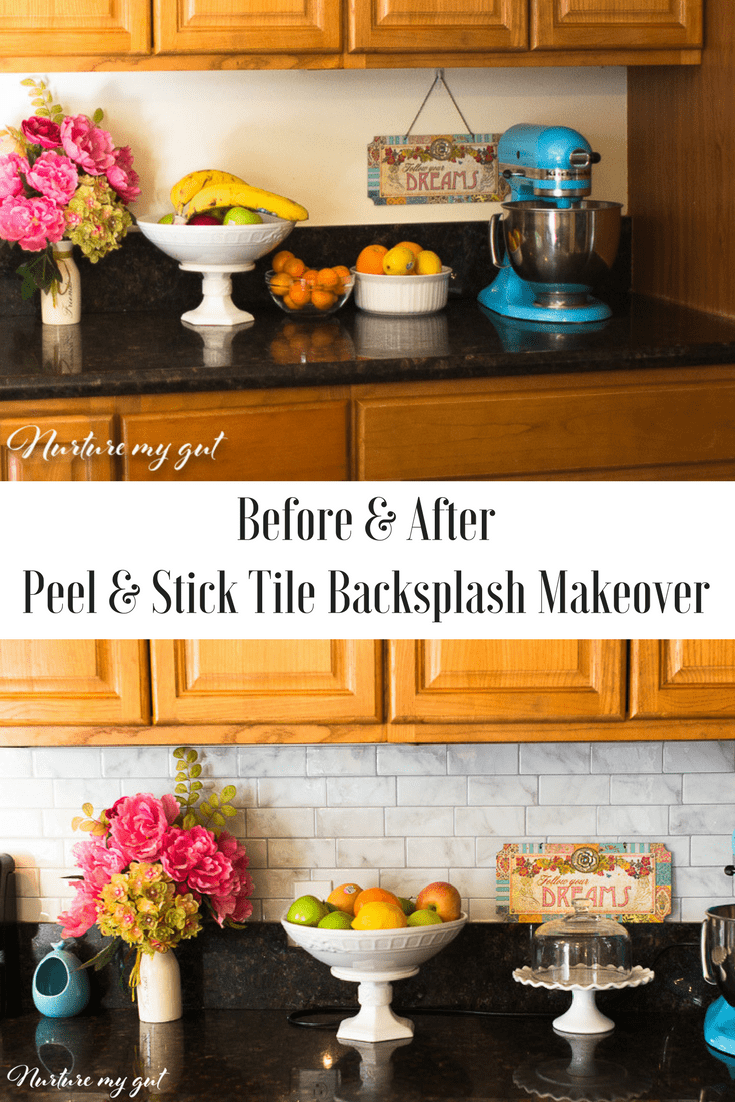
Below, you can take a look at my before and after photos and I am in love with the transformation!
The tiles look beautiful and my kitchen looks so much brighter! These easy peel and stick tiles cheered up my whole kitchen! I ❤️ peel and stick tiles!
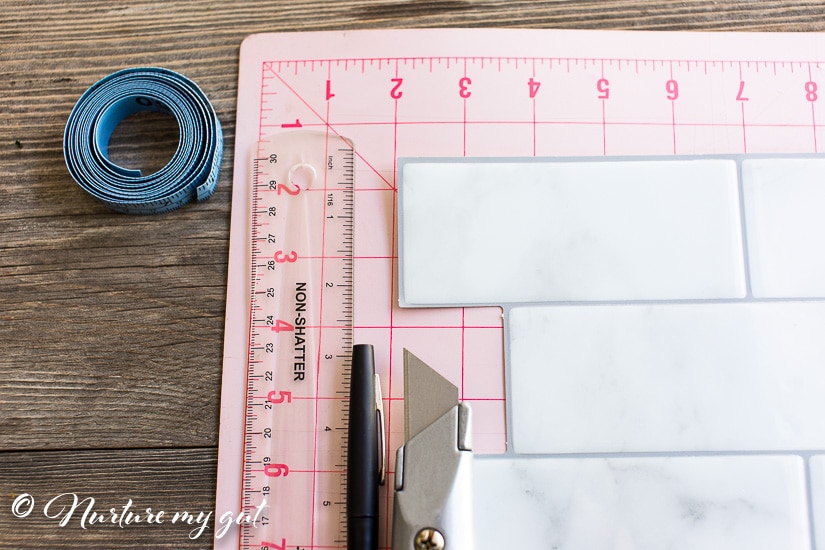
Supplies needed for Installing Peel and Stick Tiles
- measuring tape (must have centimeters included)
- sturdy utility knife
- Ruler ( I really like the clear one-you can also use the cork backed ruler)
- leveler (to make sure tiles are straight)
- Self-Healing Cutting Mat
- pencil or pen
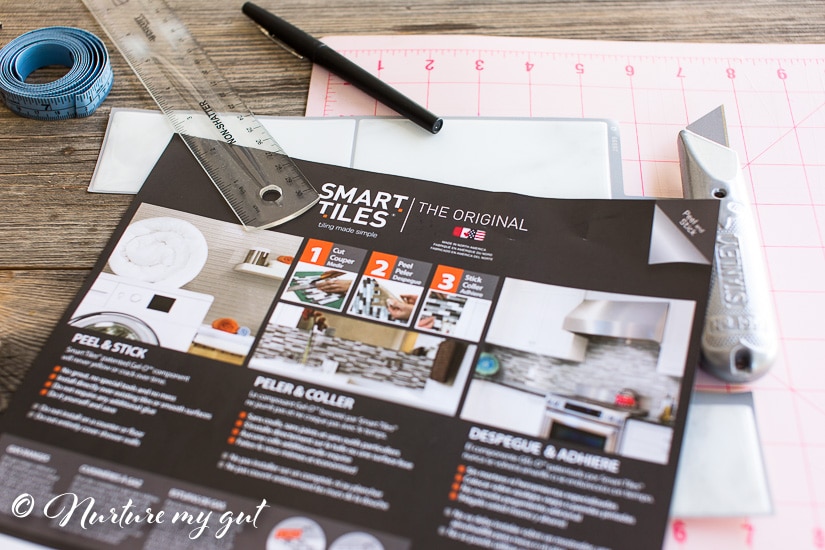
- peel & stick tiles ( I used Smart Tiles which can be found at Amazon, Wayfair or Home Depot-I used the Mosaik Metro Carrera Subway Tile in White & Gray)
When choosing your tiles, it is best to order a sample. It will take about a week or two for it to arrive but if you are very picky like I am, then go with a sample first.
I have oak cabinets so I went for a white and grey to accentuate the color. It looks really nice.
I also love the subway look because it matches with my vintage/retro decor.
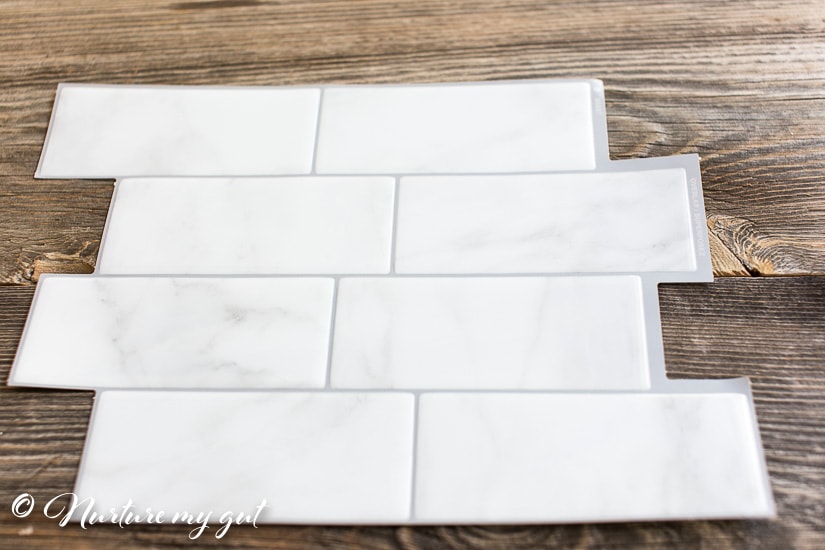
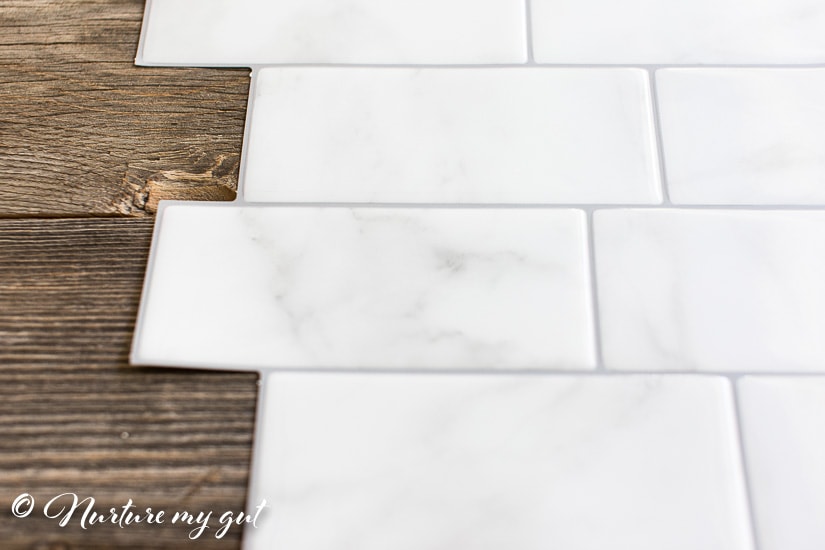
What I love about these peel and stick tiles is that they do not look cheap. They are thick and durable. They have a beautiful glossy surface similar to ceramic tiles.
My favorite part is that they clean easily. Just use a sponge or wet rag and dirt wipes right off.
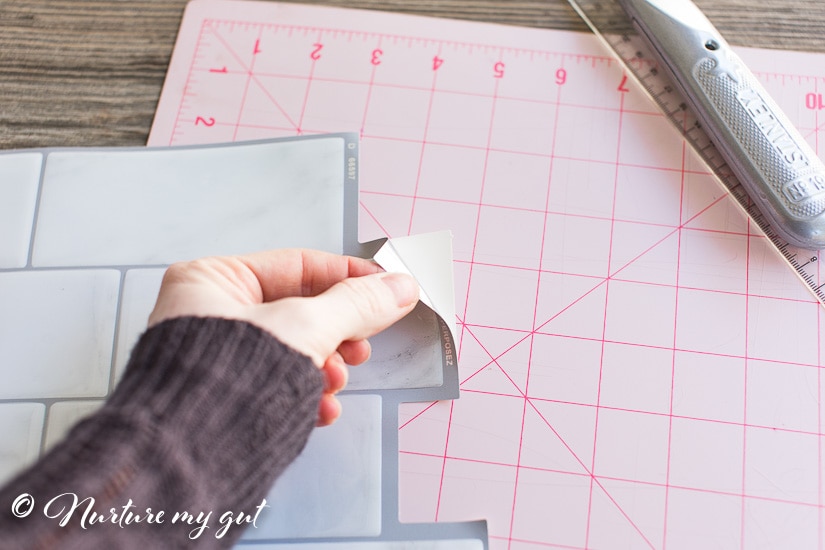
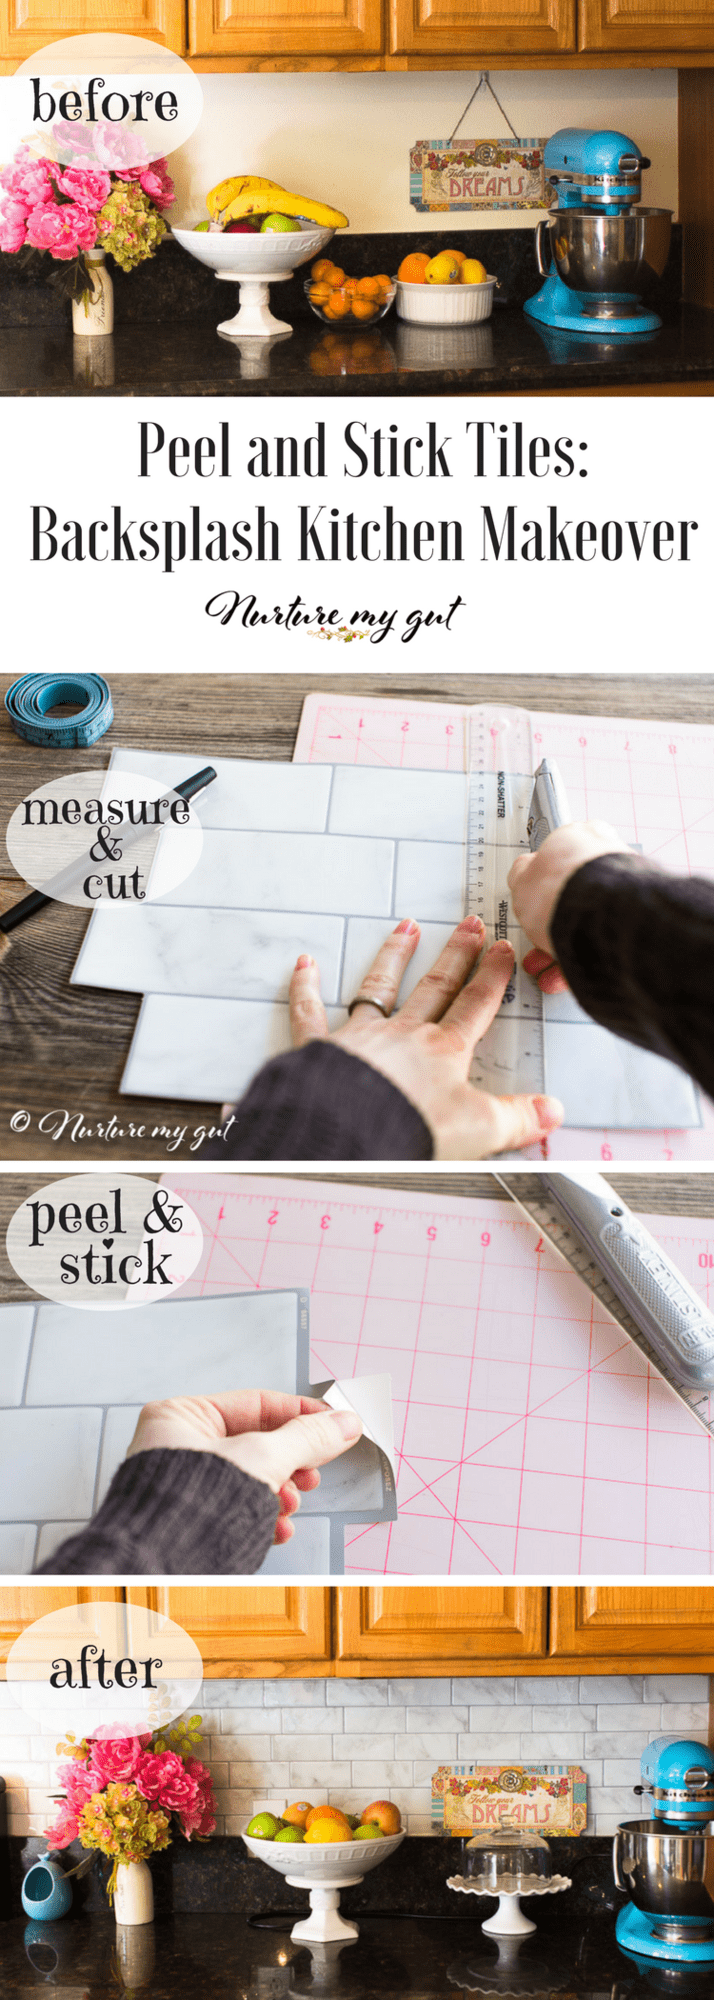
There is a paper along the back so basically this is like a giant sticker. Just be sure to measure your tiles and your wall so that you know exactly how much you need to cut off.
I personally started from right to left and bottom to top. The reason I did this is because you can’t see the top edge as much so if my cabinets were a little off, it’s not as noticeable.
Truth is, I didn’t have to worry because these came out great.
I used a non-retractable utility knife because my son is crazy about tools and I didn’t want him getting into this easily. I was able to tighten mine with a screwdriver and close it shut. Much safer for a home with curious little boys. I told him he was not allowed to use this at all! But boys are curious, so I tightened mine shut really well just in case!
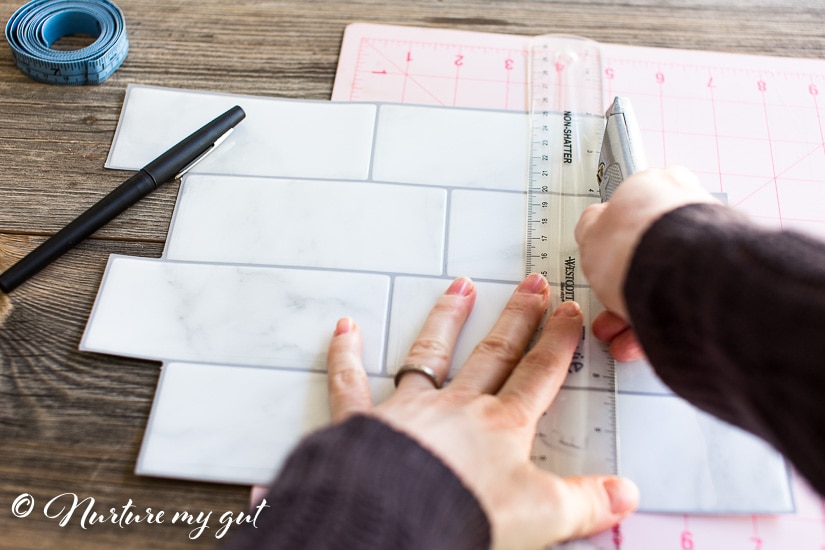
You will need a self-healing mat to slice the edge off the tiles when starting or cutting tops off. This is a must! I had to use a lot of pressure when slicing these tiles and the mat was a life saver.
You can get away with using scissors but the utility knife is faster and more efficient. Please be sure to keep your fingers out of the way!!!
I did use scissors for part of the job like cutting around light switches but most of the work was done with the utility knife.
There are several peel and stick tiles available but I ended up going with Smart tiles because they have great reviews, are made in North America and have tons of tutorials on their website.
Personally, the trickiest part was cutting around for the outlets. The first outlet was the hardest. The rest were a bit easier.
This tutorial below will show you how to install Smart Tiles, prep the space, cut the tiles and measure properly for installing around outlets (yay!). (The video below is by Smart Tiles.)
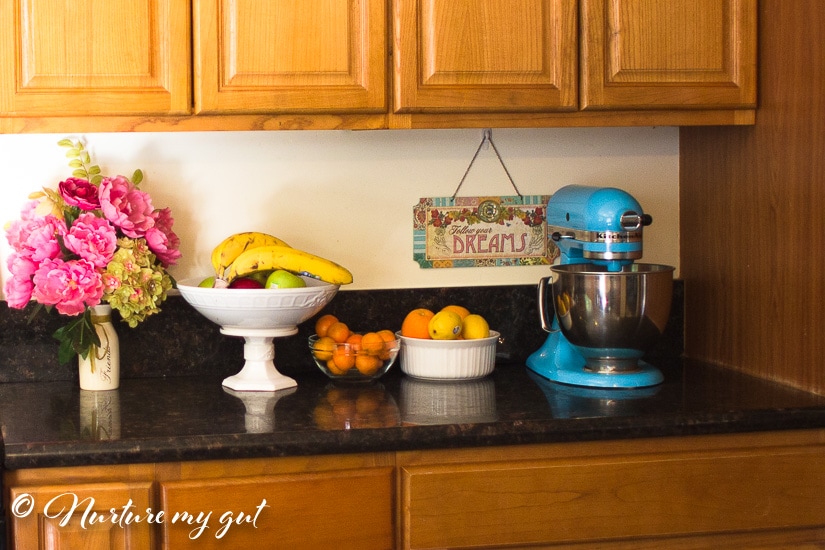
Below is how my kitchen looked without the tiles. There is not a lot of light in my kitchen so it feels a bit dark.
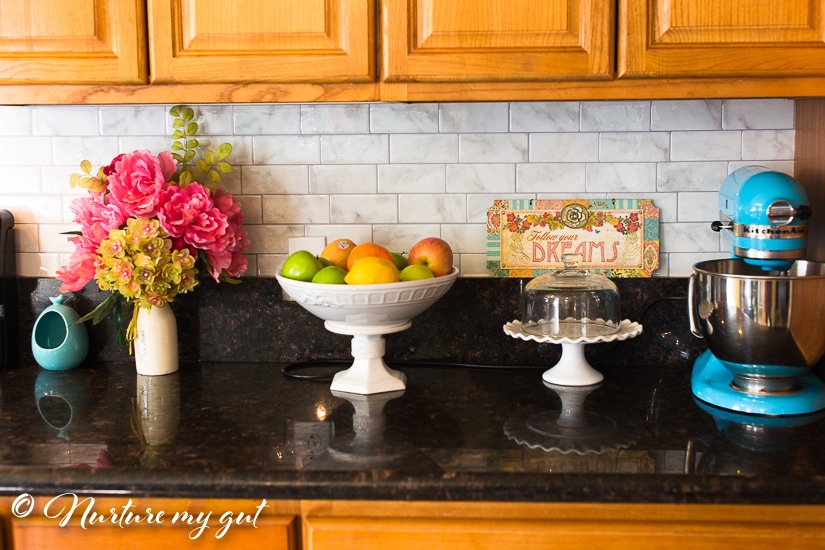
Here is what my kitchen looks like with the peel and stick tiles using Smart Tiles. The space looks brighter, more cheerful and a bit retro. I absolutely love it!
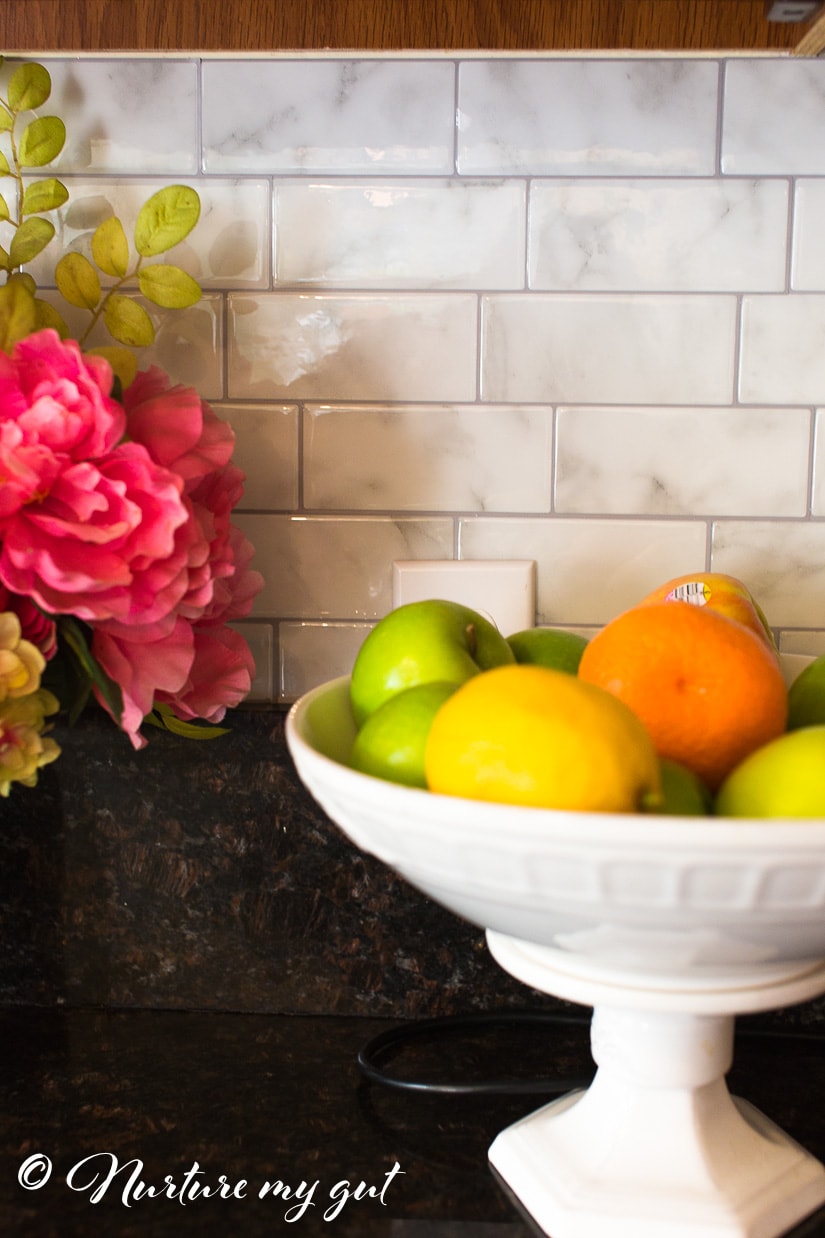
Here is a close up of the tiles. Just do your best to align the grey grout lines and it will look fabulous.
At times, I had to remove and re-stick the tiles until I got the alignment right. This took a total of 8 hours, not bad for my first kitchen DIY project!
Feel free to save the image below for your reference! If you plan on installing peel and stick tiles in your home, share in the comments below! I would love to hear from you!
IF YOU LOVE THIS RECIPE TRY THESE OUT!
- Ultimate Guide to the Stomach Flu - 29 December, 2023
- Berry Oatmeal Breakfast Smoothie - 15 May, 2023
- Grain Free Everything Empanadas {Dairy Free} - 29 April, 2022
Great ideas. Really phenomenal. This will help me a lot as I’m thinking about this. Stunning ideas. Thanks a lot.
A good way to be sure for your tiles to be strong and last longer are good adhesives.
These are pretty sticky!
This is amazing! does it stick very long? can it be used for long term or did it peel out after a certain amount of months?
My tiles are still sticking after several months. I have one tile that is slightly peeling off and that is because I had to move it a bit after putting it on. I just stuck it back on the wall and it is fine. I may have to replace it. No problem with any other tiles whatsoever. These are excellent quality thick sticky tiles. I highly recommend them! Warmly, Ester
I did not know it would look that good! Must go at home depot soon then. Thanks for sharing this 🙂
Thank you Kyla! Please let us know how yours turns out! So glad you like it! Warmly, Ester
It looks amazing! I was really surprised by the selection of peel and stick tiles at Home Depot the other day. They are definitely an option for smaller spaces. Some of them come with a hefty price tag, though!
Yes! They are becoming more popular! I love how these turned out! They really brightened up my kitchen space!